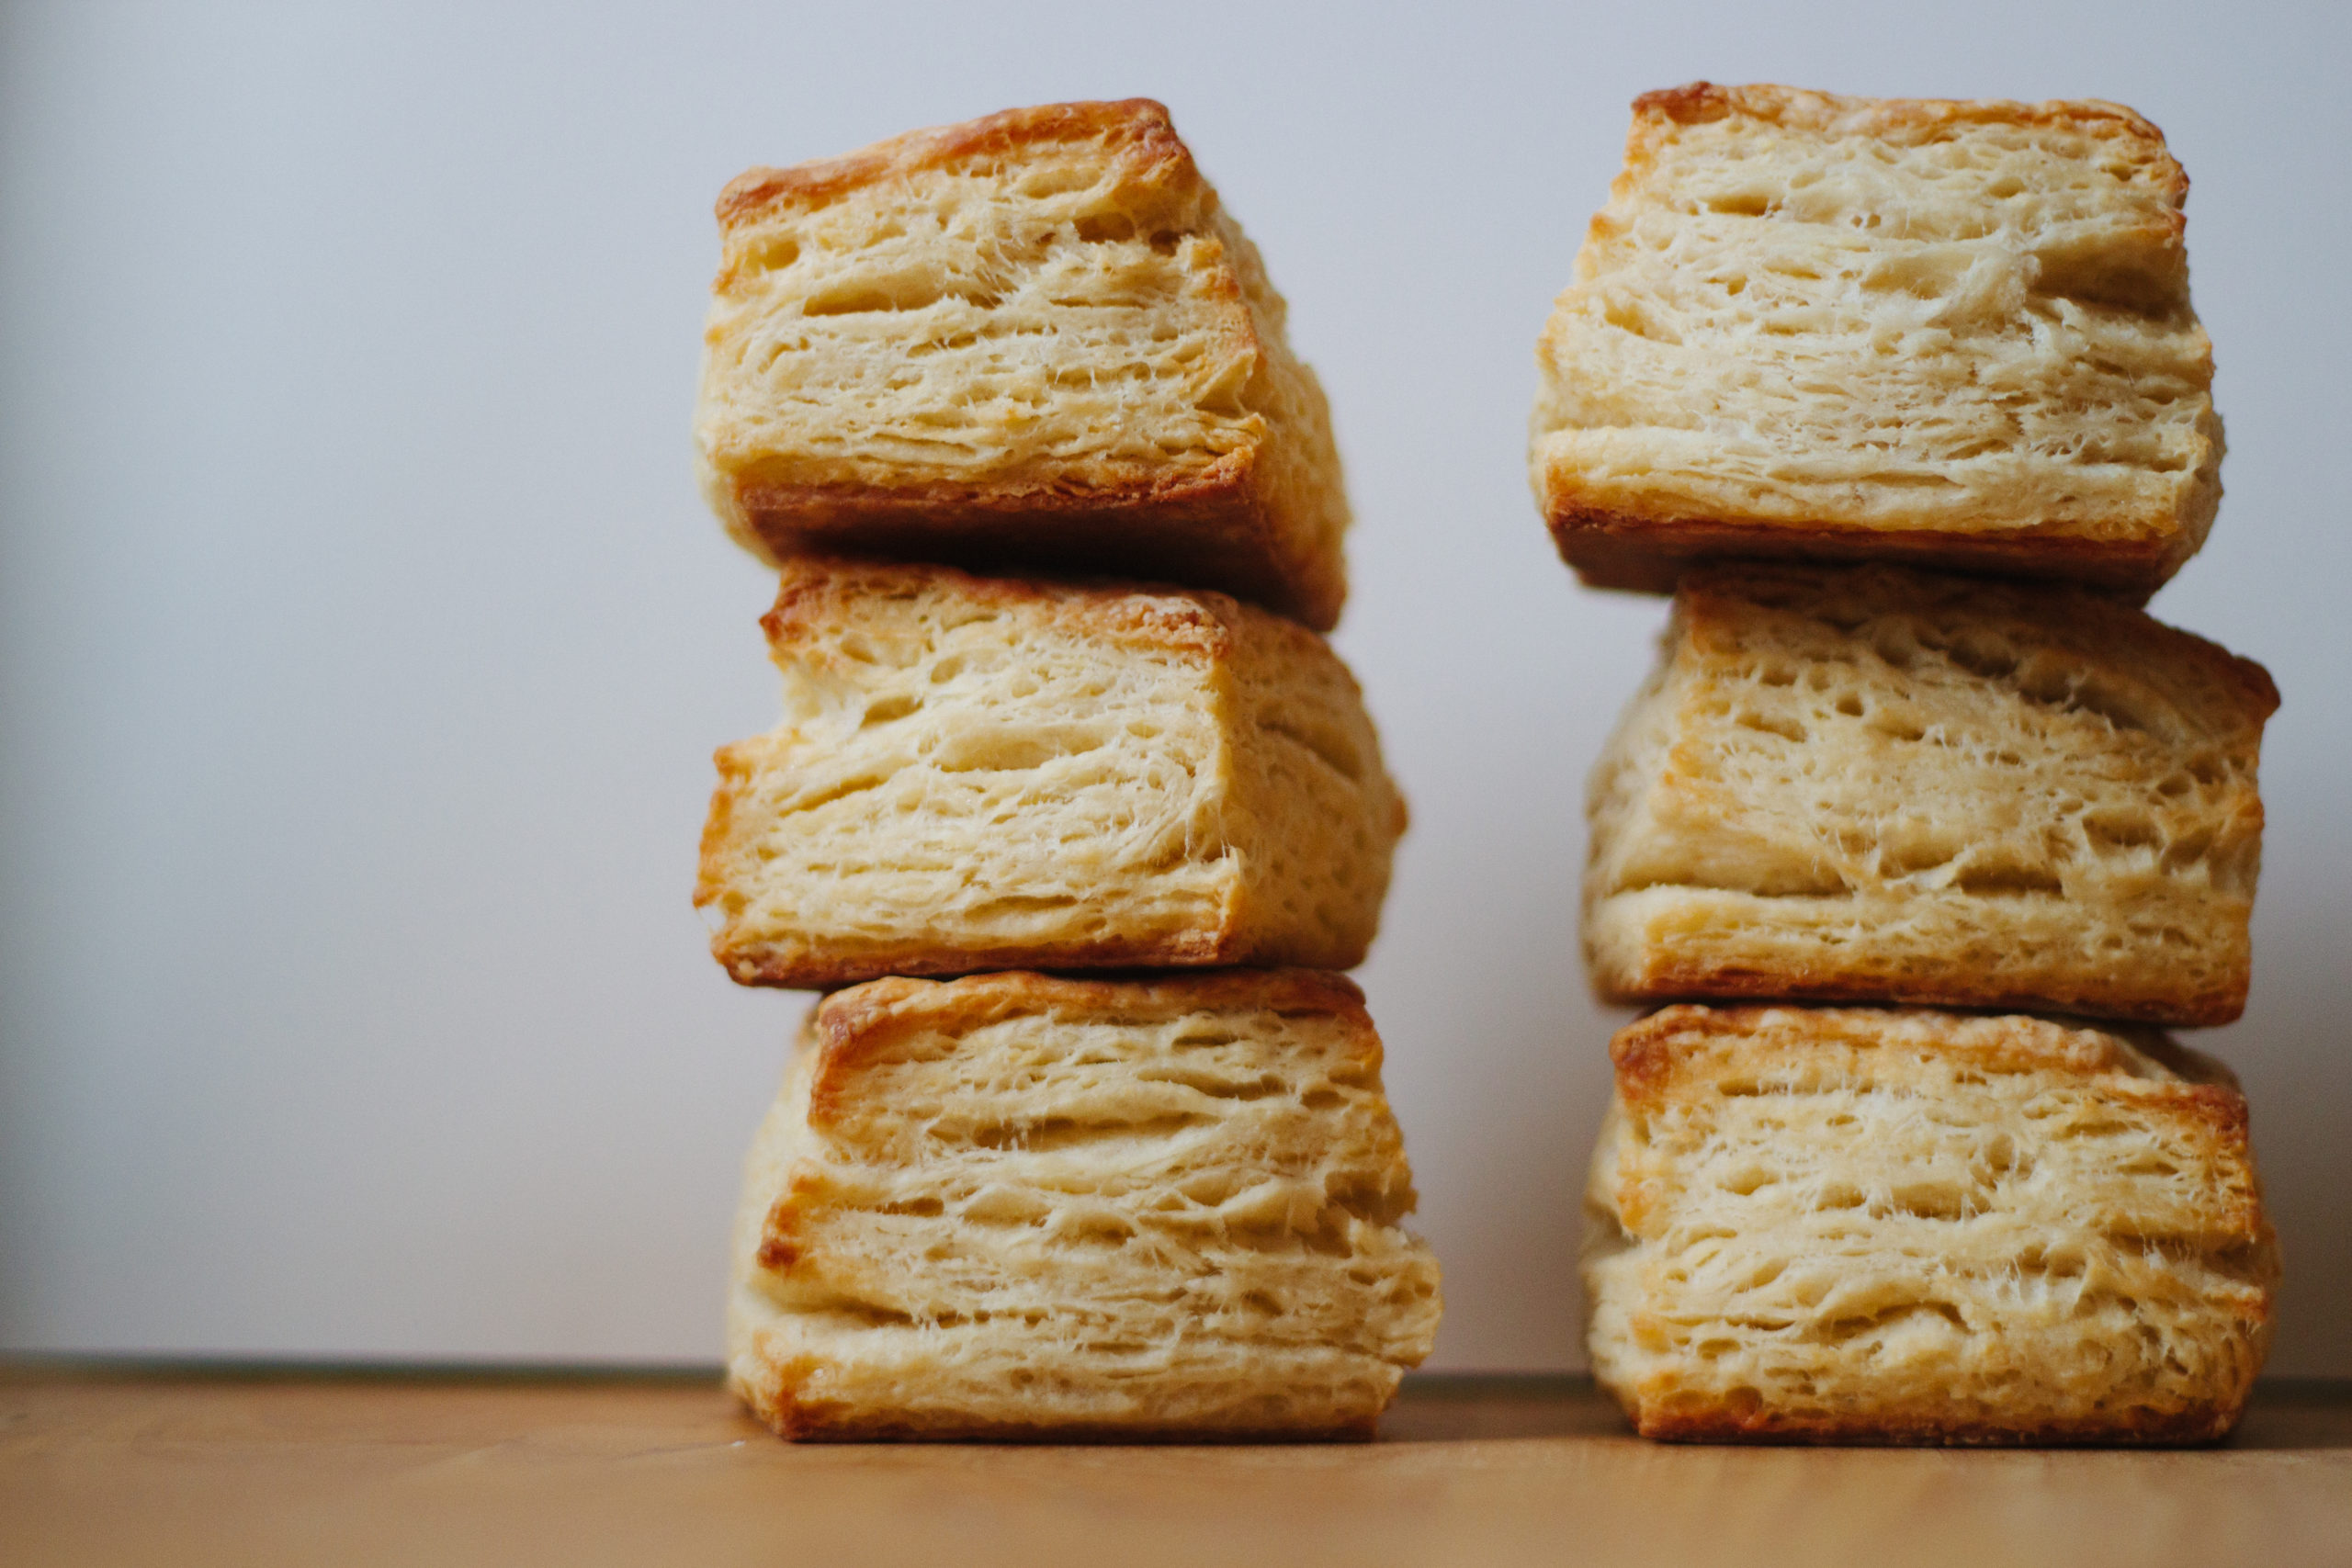

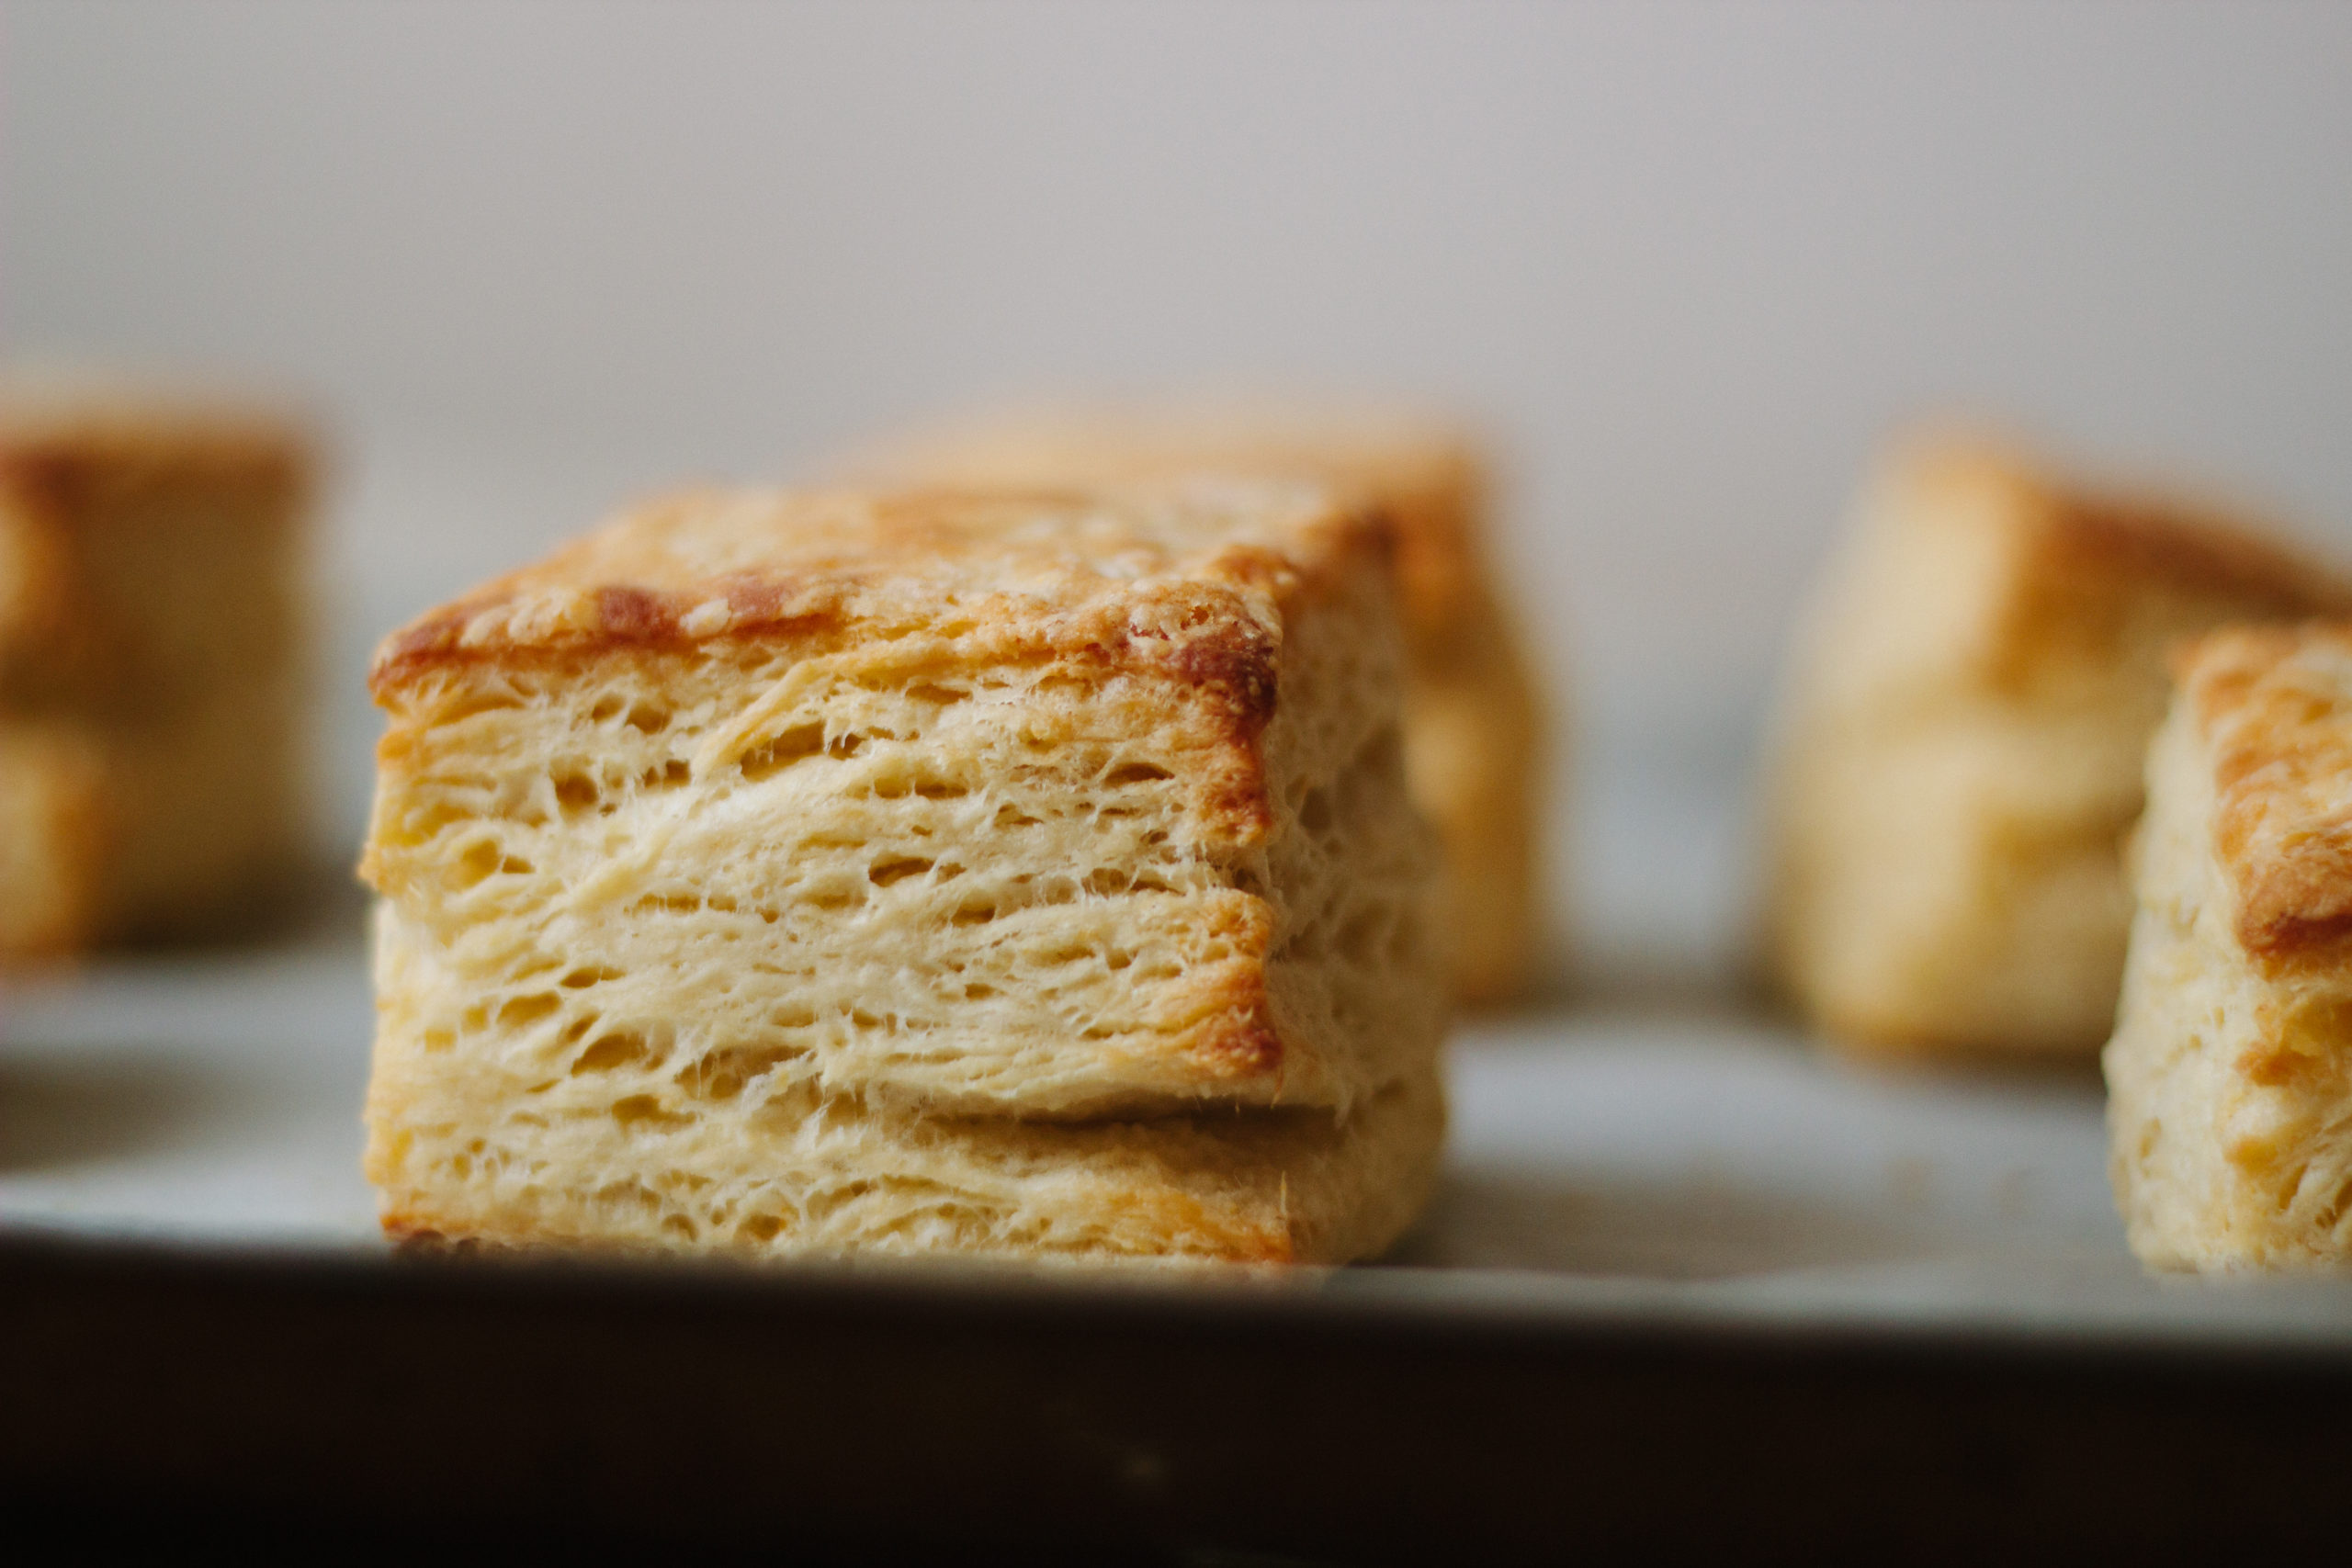
When I’m feeling down, and want to conquer something in the kitchen, I always turn to pastry and dough. There is something super meditative about folding, laminating, and rolling. And if you know me well, you know that I’ve been working to master my go-to scones and biscuits. This right here, I venture to say, is my perfect buttermilk biscuit.
What makes it perfect (to me)? Multiple folds guarantees that the layers are flaky as can be. Lots of butter and leavening agents ensures they rise up while maintaining the right texture. Cutting them into squares (plus making a biscuit ‘spiral’) means no dough is wasted. And, I’ve included directions for ‘on demand single-serve’ biscuits, aka how to freeze them, and bake them up from frozen whenever you should want a warm biscuit just for yourself. Which during a pandemic, could be any day of the week!
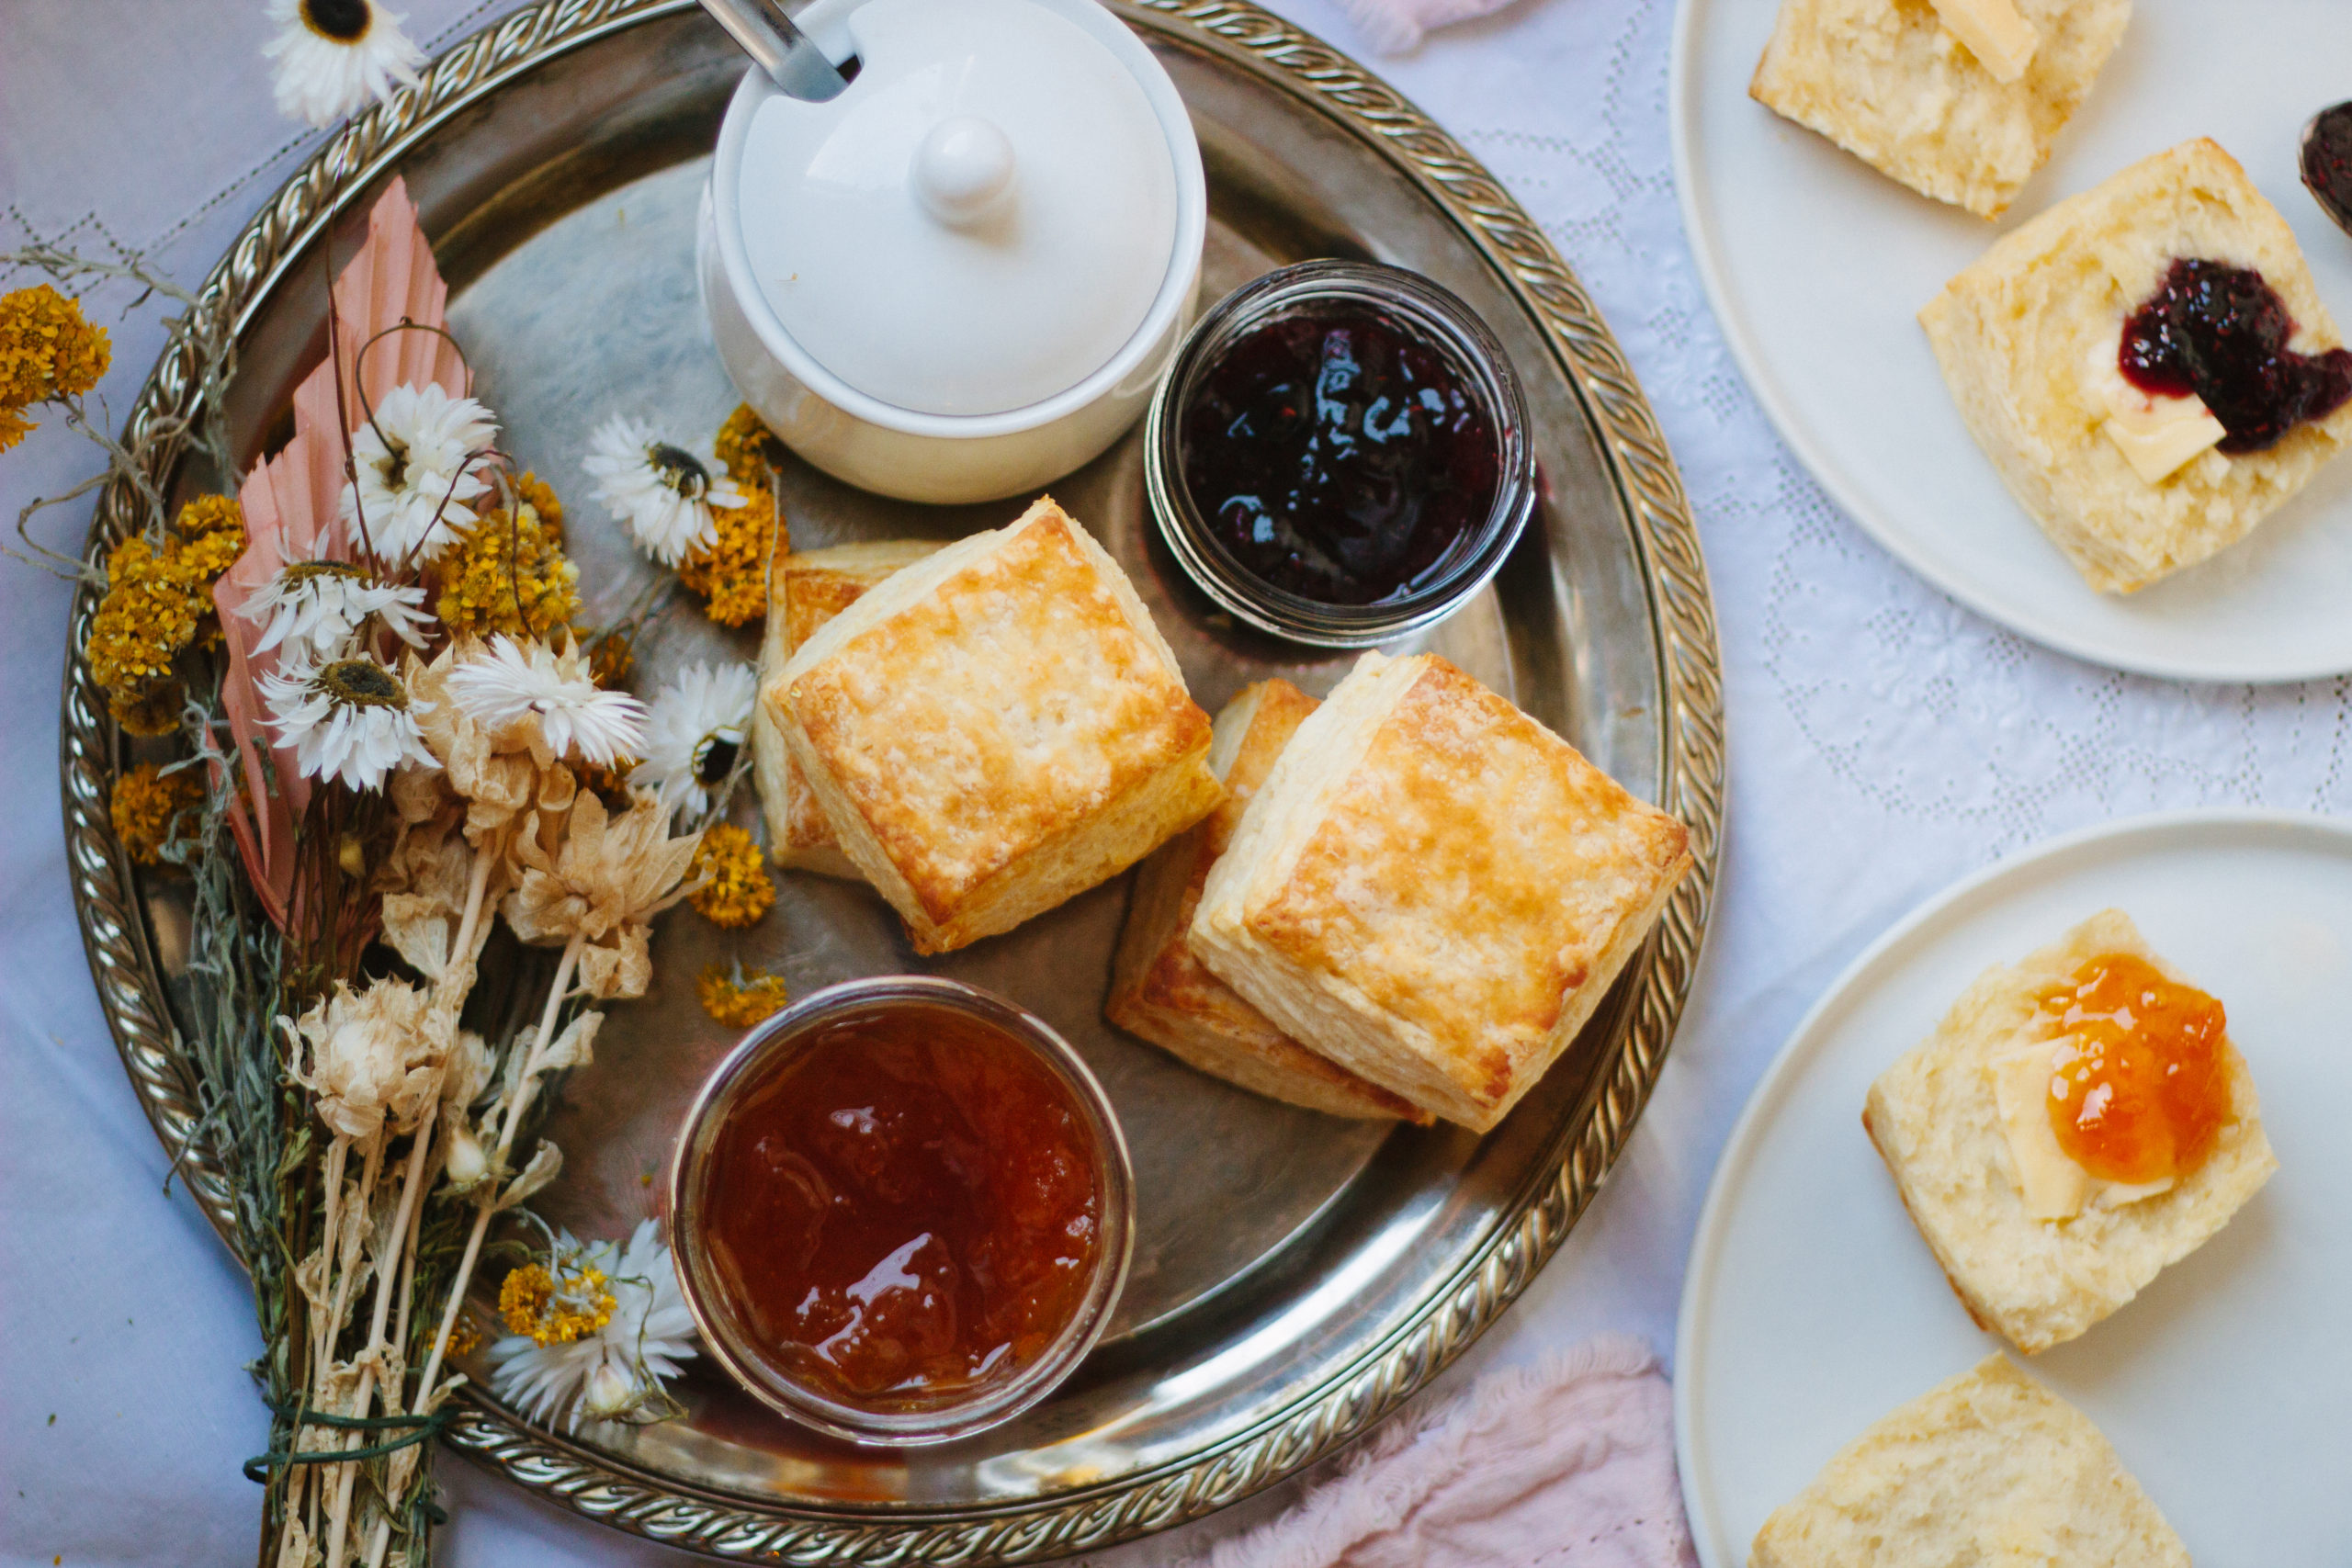
What’s great about biscuits is that they pair equally as well with savory or sweet. Serve them with butter and jam (as I did here), eat them with soup, pepper jelly and cheese, and dare I say, the best way: in a breakfast sandwich.
This recipe is simple, but does require learning to ‘fold’ dough. See below for some step-by-step images below to help explain what I mean in my directions. Any questions? Leave a comment and I’m happy to help!
Instead of writing something longer here, or making a mix, I thought I’d share some of my current favourite podcast episodes, that you can listen to as you’re folding your dough…
Call Your Girlfriend, Cozy Content (with Jenny Han)
The Splendid Table, Saving Chinatown (with Grace Young)
Rebel Eaters Club, Fatphobia (& Foodphobia) is Anti-Blackness with Da’Shaun Harrison
You’re Wrong About, The Anti-Vaccine Movement


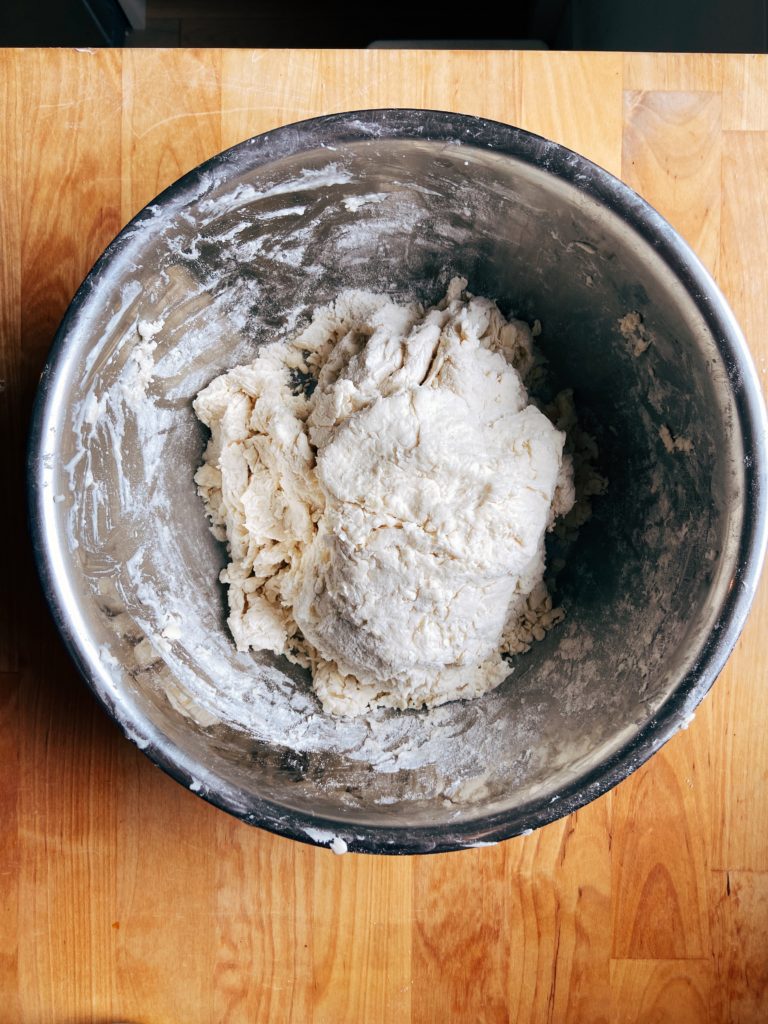
Bring dough together into a shaggy mess 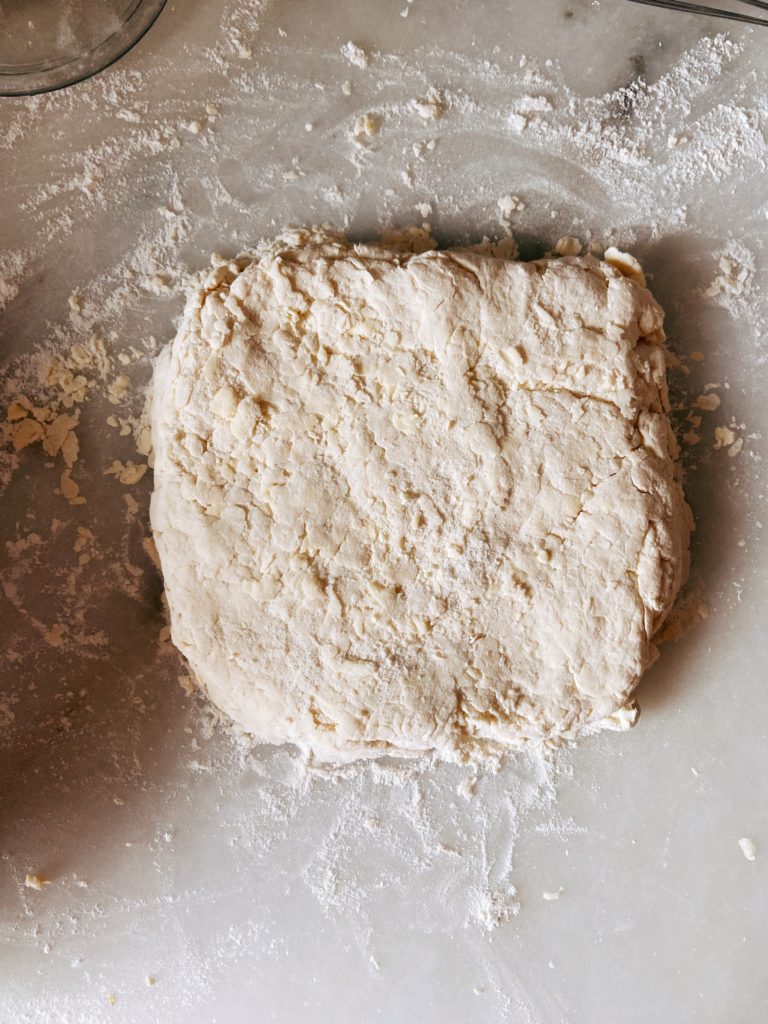
Pat into 7 inch square 
Roll into 12 inch x 9 inch rectangle 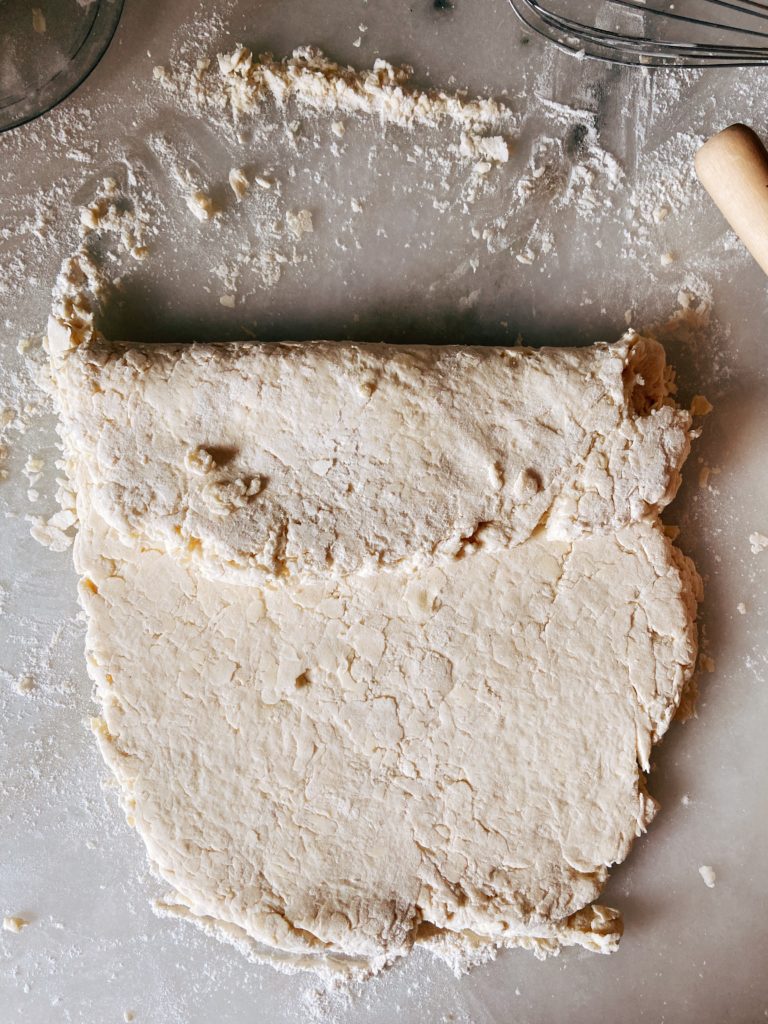
Fold into thirds… 
…like a business letter 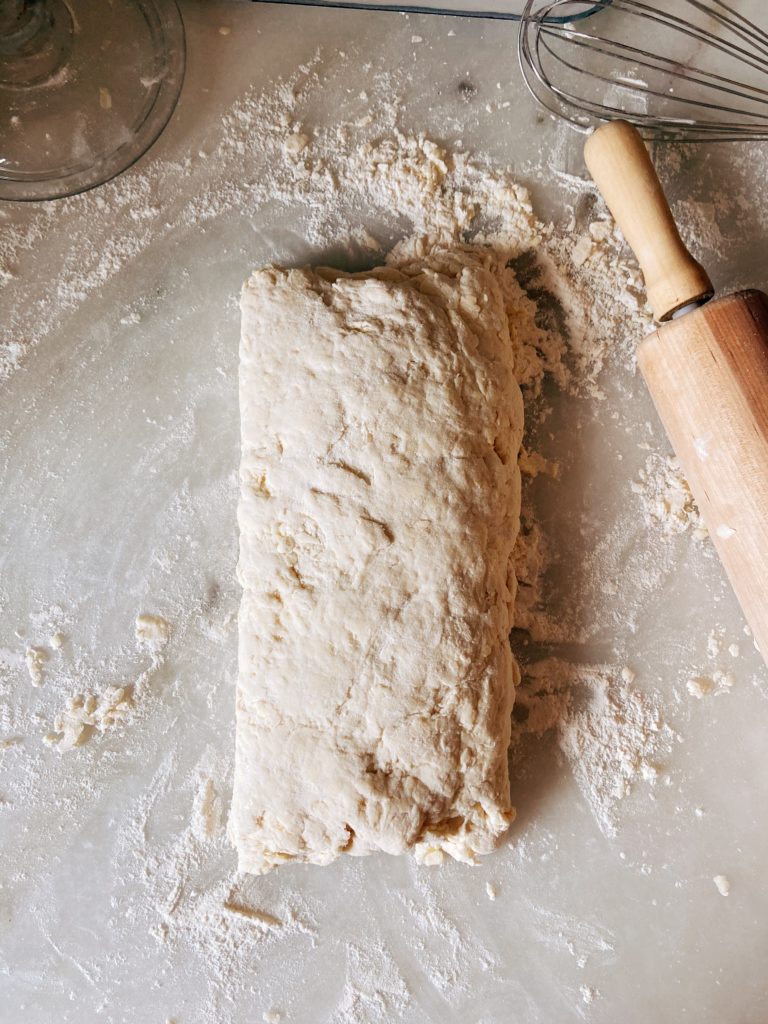
Seal edges, turn dough 90 degrees. 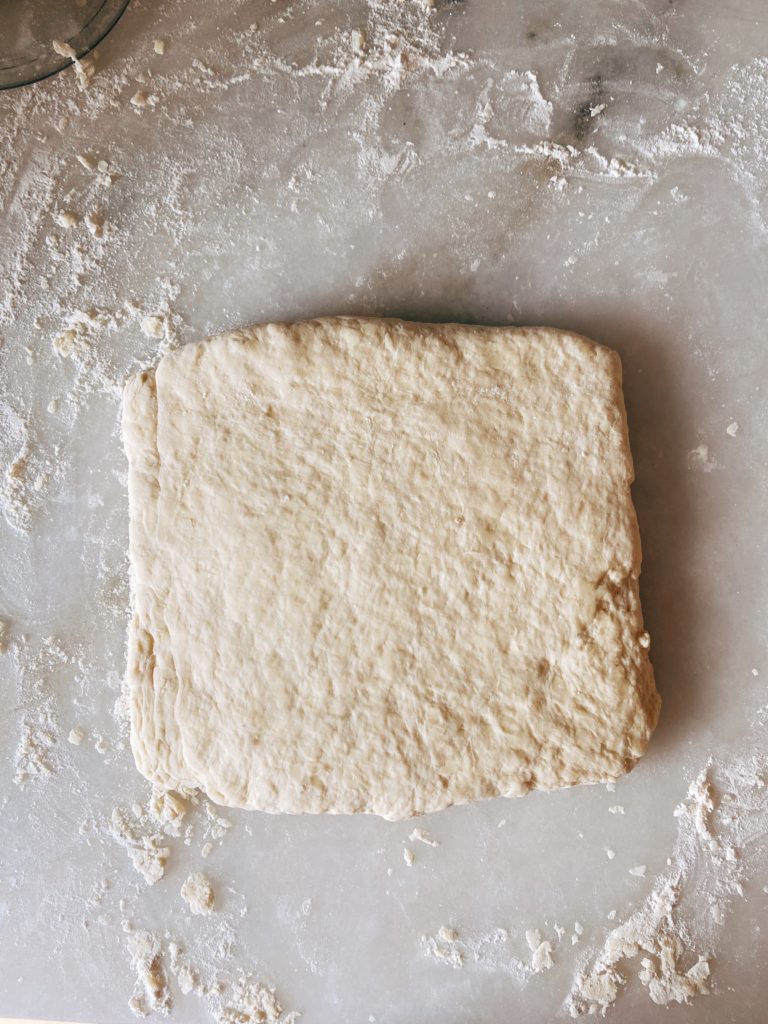
Roll into a 8 inch square 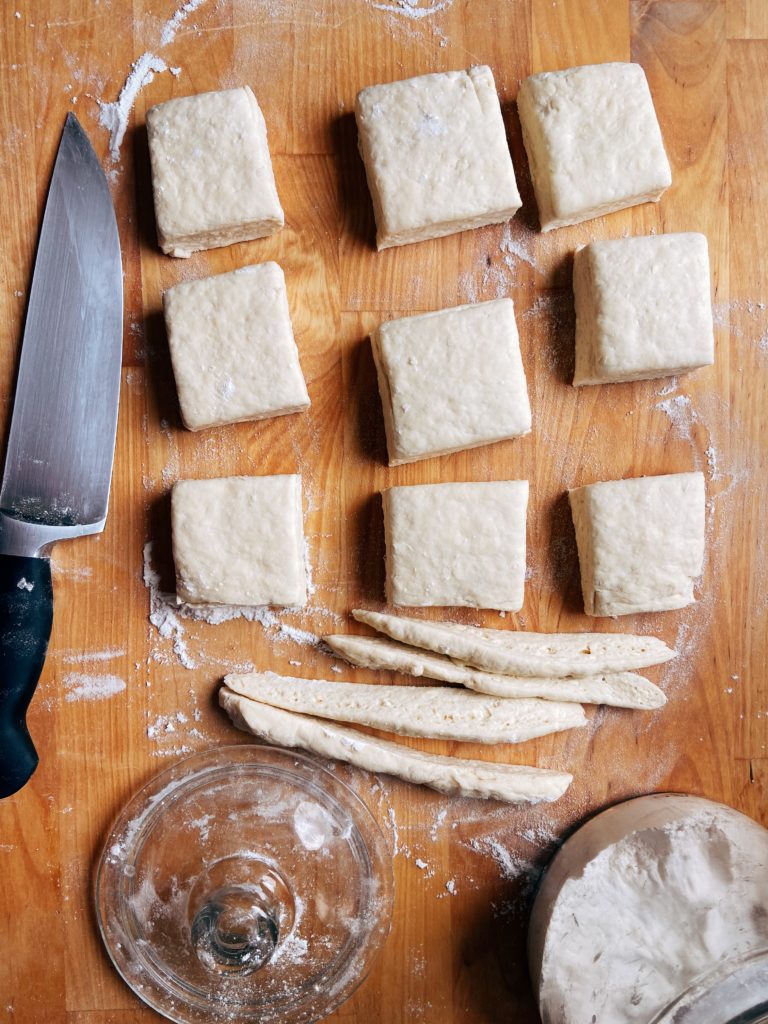
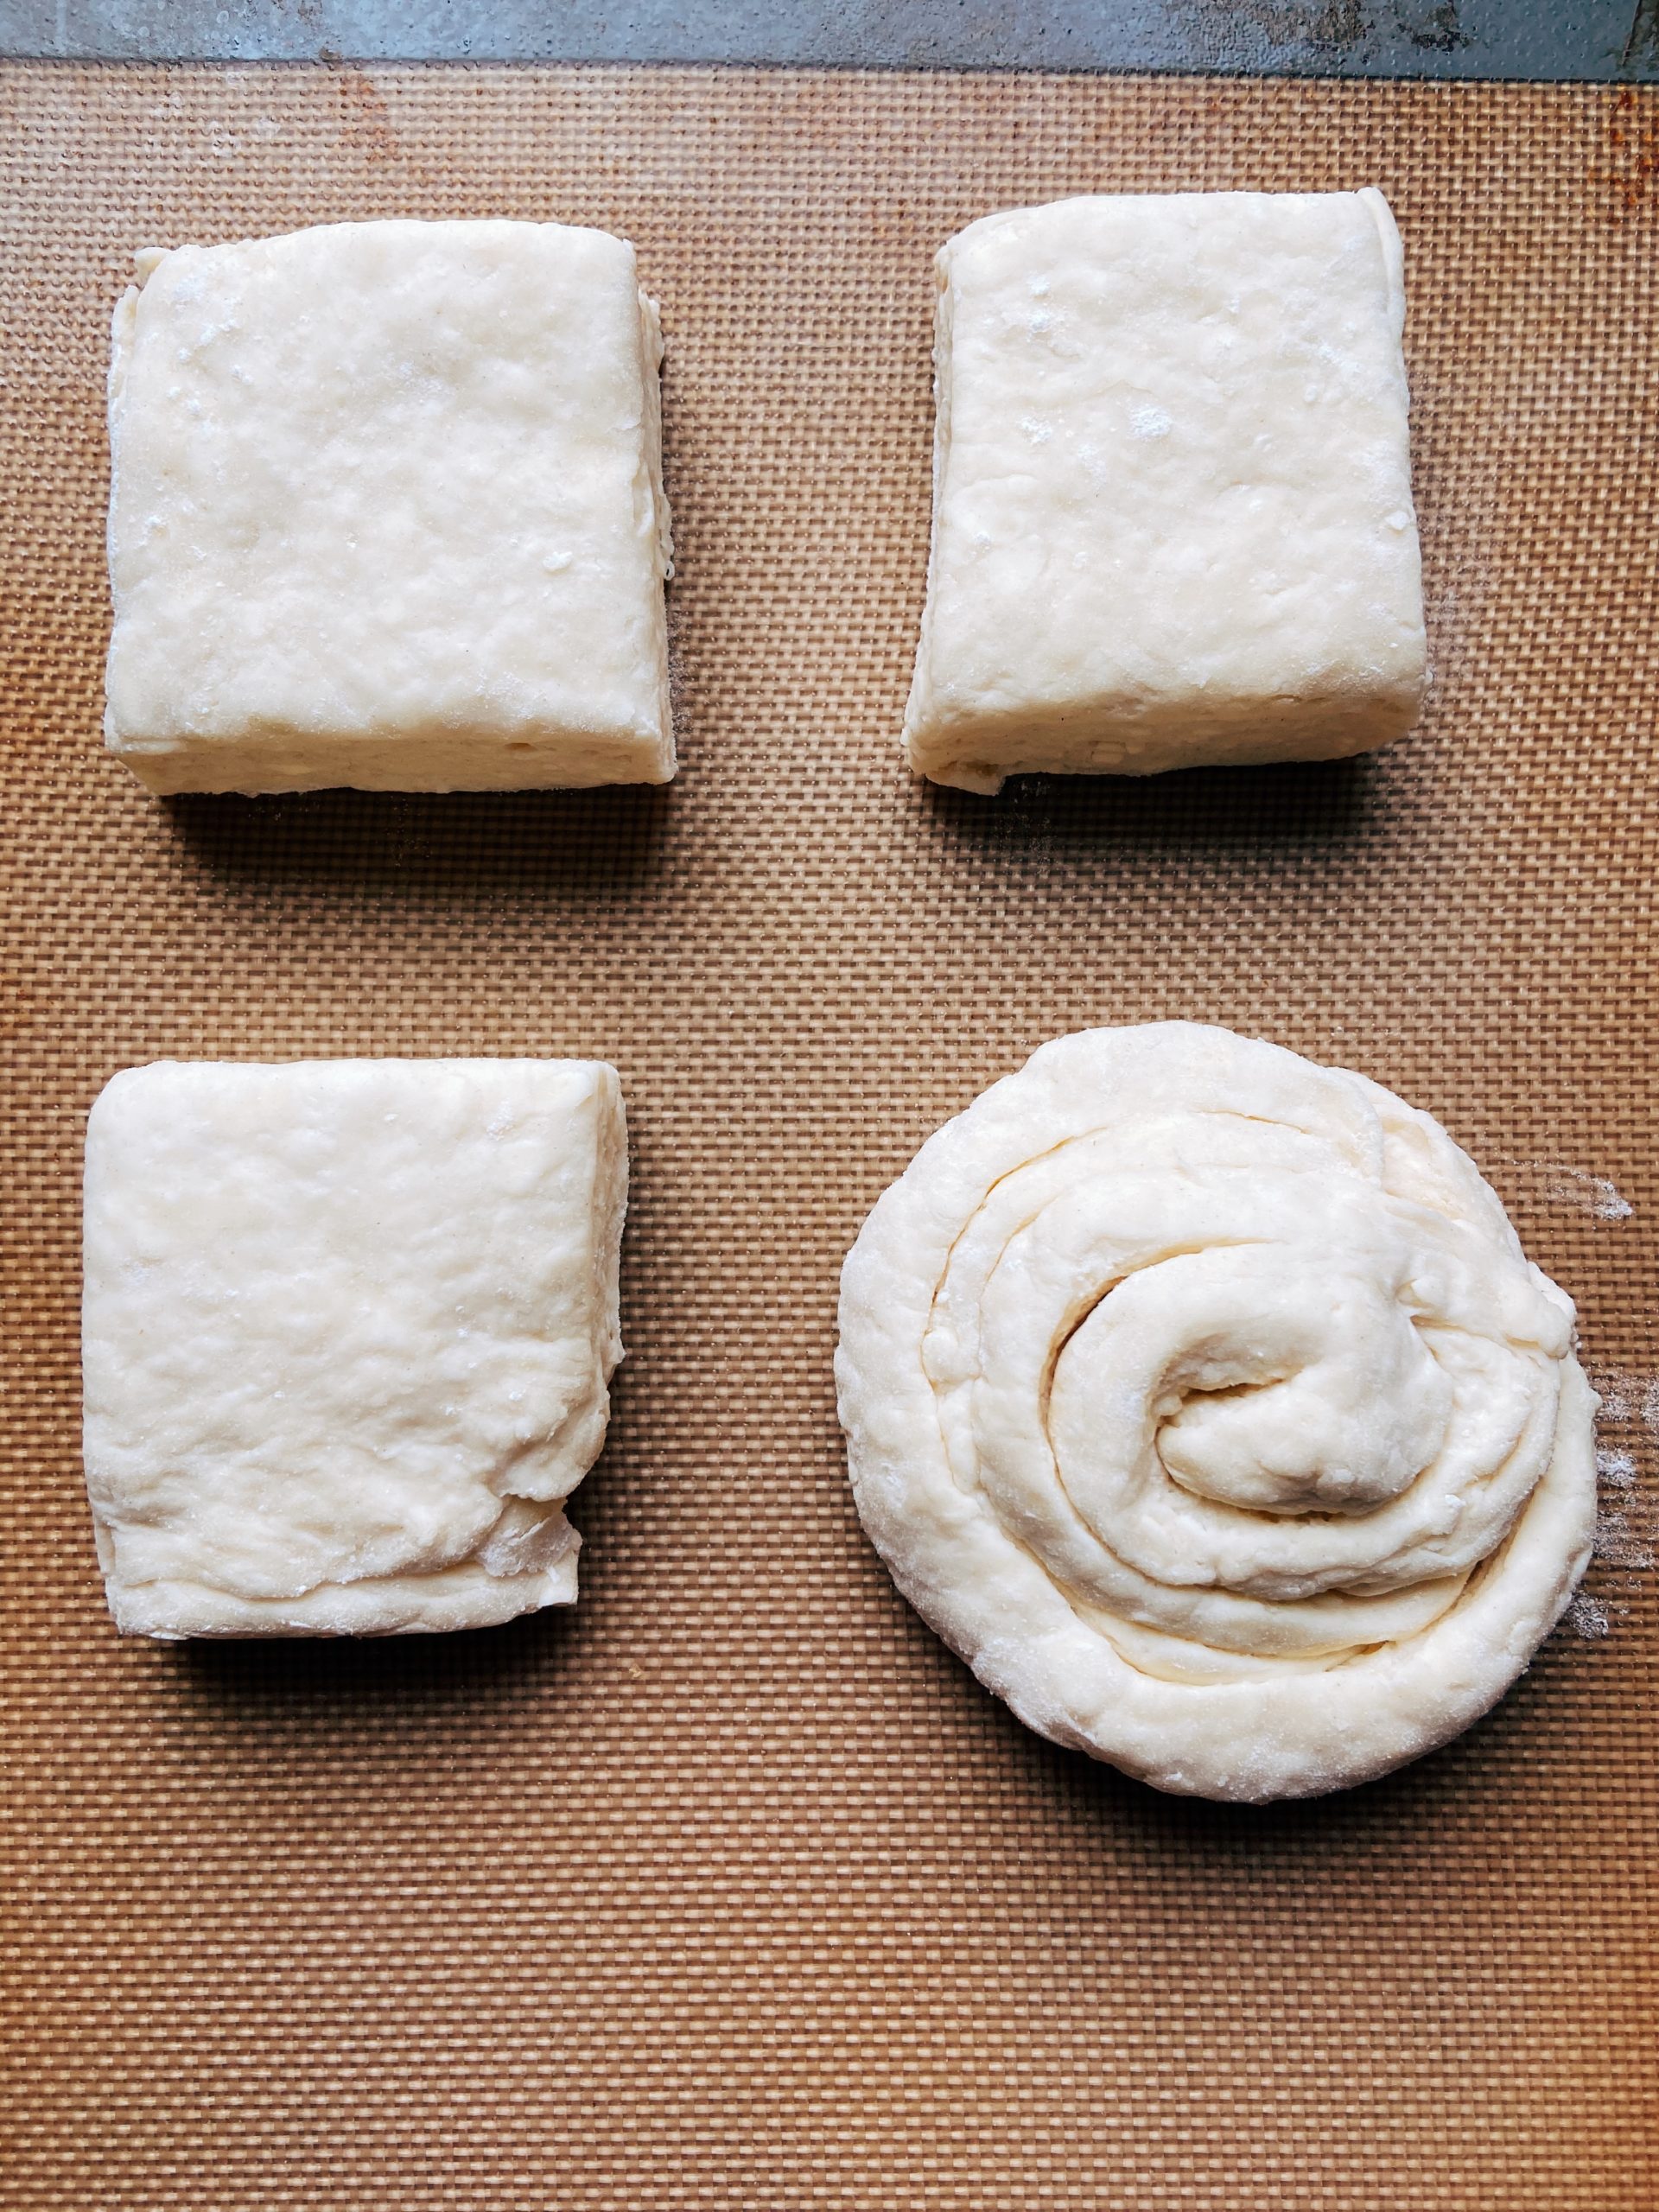
Trim sides, and cut into squares 
Turn those trimmings into a spiral.


Flaky buttermilk biscuits
Equipment
- box grater
- bench scraper
- pastry brush
Ingredients
- 3 cups all purpose flour (450 grams)
- 2 tbsp sugar
- 4 tsp baking powder
- 1/2 tsp baking soda
- 1.5 tsp sea salt
- 16 tbsp unsalted butter (2 sticks) frozen for 30 minutes or more
- 1 1/4 cups buttermilk fridge cold
Instructions
- Set out a baking sheet and cover with parchment paper.
- In a large mixing bowl, whisk together the sugar, flour, baking powder, baking soda and salt.
- Score your butter wrapper at the 2 tablespoon mark, and unwrap the long end, exposing 6 tablespoons, and leaving that small piece of wrapper – this will be your ‘handle’ for grating! Repeat with the second stick. Holding the wrapper end, grate the 6 tablespoons of each stick on a box grater, directly into the bowl (for 12 tablespoons total). Lightly toss the grated butter in the flour mixture until coated in flour. Set 1 tablespoon of butter aside, and set the remaining 3 tablespoons away for another use.
- Pour the buttermilk into the bowl and mix with a spatula until just starting to come together in a shaggy mass.
- Use the spatula to transfer the mixture to a well-floured surface, and pat it into a 7 inch (still messy) square.
- Using a well-floured rolling pin, roll dough into 12 by 9-inch rectangle with the 9 inch side parallel to the edge of the counter. With the help of a bench scraper or spatula, fold the dough into thirds like a business letter. Seal the edge of the ‘letter’. Turn dough 90 degrees clockwise. Repeat rolling into a 12 by 9-inch rectangle, folding into thirds, sealing, and turning clockwise, 3 more times, for a total of 4 sets of folds. Keep flouring the surface to avoid sticking between folds.
- After the last set of folds, roll dough into an 8 inch square. Transfer dough to the parchment lined baking sheet, cover with plastic wrap, and refrigerate for 30 minutes.
- Meanwhile, preheat the oven to 400 degrees and arrange your oven rack in the middle. Melt the 1 tablespoons of butter you set side.
- Transfer the dough to a cutting board, and trim about ¼ inch off the edges of the biscuit (you’ll see the beautiful layers inside!) Cut the biscuits into 9 equal squares and return to parchment lined sheet, spaced evenly apart. Roll the ‘trimmings’ into a spiral for a delicious ‘biscuit spiral'.
- Brush the tops of the biscuits with the melted butter and bake for 20- 25 minutes or until the tops are golden brown (not pale). Let cool slightly (10 minutes or so) before serving.
Single Serve On-Demand Biscuits
- After you’ve cut the biscuits into squares, place any biscuits you don’t want to eat right now on a parchment line baking sheet (leave some space between them). Freeze them until solid, then you can either individually wrap each one with beeswax wrap or throw them into a freezer bag.
- Bake as many as you want at a time from frozen, for about 25 minutes or until golden brown.
To make ahead:
- Follow the single-serve directions with all the biscuits, and then bake all from frozen. I don’t recommend refrigerating these overnight as you won’t get as good a rise.
These are great and hardy biscuits. Have made them a couple of time. I about wore our grating frozen butter into the flour. Next time I will try grating with food processor.